
The Often-Missed Step That Defines Tissue Health and Esthetics
Intraoral scanning has transformed implant dentistry, yet one small step often determines whether an implant restoration looks natural or artificial. That step is capturing the sulcus, the soft-tissue contour surrounding the implant.
The sulcus defines the emergence profile — the transition from the implant platform to the gingival margin that shapes how the restoration exits the tissue. Without an accurate record of this contour, the technician must guess how the restoration should meet the gingiva. That guess affects both esthetics and long-term peri-implant health.

1. Understanding the Emergence Profile
The emergence profile is the three-dimensional shape that allows a restoration to emerge naturally from the soft tissue. It determines:
- The contour and height of papillae
- The stability of the marginal tissue
- The ease of hygiene access
- The natural visual transition between restoration and gingiva
A correct emergence profile supports the soft tissue that the healing abutment or provisional has already shaped. If the profile is over-contoured, it impinges on tissue and traps debris. If it is under-contoured, it fails to support papillae and can create gaps or black triangles.
Each patient’s emergence zone is unique, and it cannot be duplicated accurately without recording the sulcus.

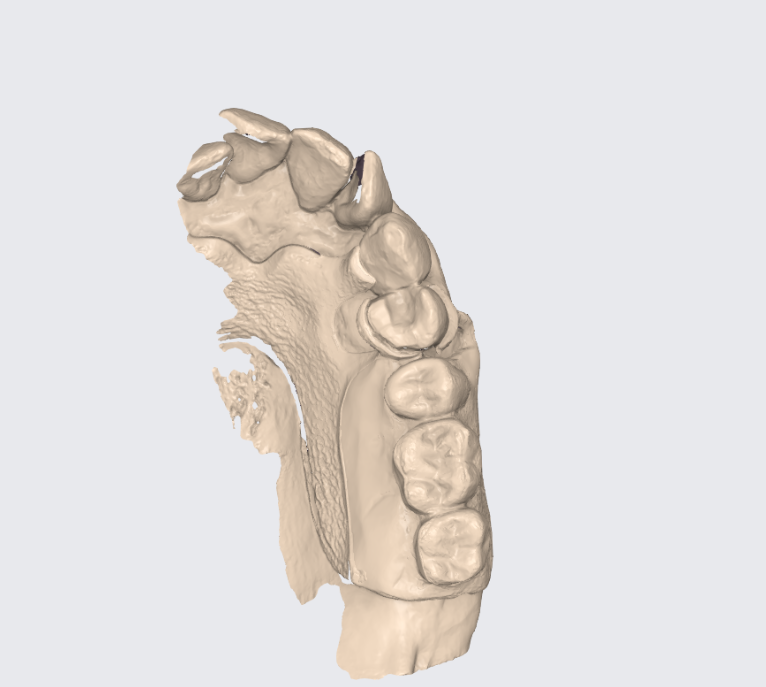
2. What the Scan Body Captures and What It Does Not
A scan body records:
- Implant position and angulation
- Platform type and rotational orientation
What it does not record:
- The subgingival contour of the soft tissue
- The height and width of the gingival tunnel
- The true emergence pathway created by the healing cap or provisional
Even if the tissue has healed beautifully, that shape is invisible to the scanner when the scan body is in place. The emergence profile must therefore be derived from an additional scan of the sulcus.

3. Why the Sulcus Should Be Scanned
Scanning the sulcus provides the laboratory with the critical soft-tissue information that allows a proper emergence profile to be designed—whether on a custom abutment, a modified stock abutment, or a screw-retained restoration.
Capturing the sulcus:
- Preserves the exact contour established by the healing abutment or provisional
- Ensures a natural emergence and healthy soft-tissue seal
- Prevents the “flat” or “pinched” appearance that occurs when the subgingival contour is guessed
- Reduces chairside adjustments and remakes by allowing the lab to reproduce what exists clinically
4. The Common Misconception: “The Scanner Will Capture Everything”
Modern intraoral scanners are highly accurate but can only record what is visible.
If the sulcus is never scanned, no software or alignment process can reconstruct that lost data.
The only way to preserve the true emergence contour is to capture it immediately after removing the healing cap, while the soft tissue remains stable.

5. How to Capture the Sulcus with a Scanner
The success of sulcus scanning depends on sequencing and timing. The objective is to record both the supporting tissue form and the implant reference data as two distinct, clean scans for the laboratory.
Recommended Workflow
- Start with the Healing Cap in Place
- Perform a full-arch scan with the healing cap seated.
- This captures the occlusion, contacts, and tissue architecture in their natural, supported position.
- Maintain a dry, retracted field for clarity.
- Digitally Trim the Site of Interest
- Within the scanner software, trim out the region around the healing cap and the immediate sulcus.
- This defines the area to be re-scanned with higher detail.
- Remove the Healing Cap and Scan the Sulcus
- Remove the healing cap and immediately scan the sulcus, including one or two adjacent teeth.
- Continue the same full-arch scan; do not begin a new one.
- The trimmed area is filled in with the sulcus data before finalizing the scan.
- This records the soft-tissue emergence shape exactly as it exists clinically.
- Scan the Scan Body Separately
- After completing the full-arch scan with sulcus data, seat the scan body and take a short, localized scan of it and the same adjacent teeth.
- This file defines the implant’s position and orientation for the laboratory.
Practical Tips
- Scan the sulcus within 15–20 seconds of removing the healing cap to prevent collapse.
- Keep scanner tip orientation consistent for reliable stitching.
- Label files clearly (“Arch + Sulcus” and “Scan Body”) before exporting.
- Do not attempt to merge scans chairside; this step is performed at the lab.
6. When the Sulcus Is Not Scanned
If the sulcus data are missing, the lab must estimate the tissue shape. Even with experience, this often results in:
- Overly convex or flat emergence zones
- Gingival recession or papilla loss
- Compromised cleansability and esthetics
- Adjustments or remakes once tissue response is evaluated clinically
Scanning the sulcus eliminates these variables and provides a reliable foundation for designing an emergence profile that matches the existing soft tissue.
7. The Laboratory Perspective
When the lab receives both datasets—the full arch with sulcus and the scan body—it can merge them to reveal the complete picture: soft tissue form, implant position, and occlusal relationship.
From this, the technician can design an emergence profile that transitions smoothly from the implant platform to the gingiva, whether the final restoration uses a custom or prefabricated abutment.
The result is a restoration that supports the tissue, preserves health, and looks like it belongs.

8. Conclusion
The scan body defines the implant position. The sulcus defines how the restoration should meet the tissue. Capturing both ensures an accurate, natural emergence profile.
A short sulcus scan adds only seconds to the appointment but gives the lab the information needed to reproduce the clinical reality.
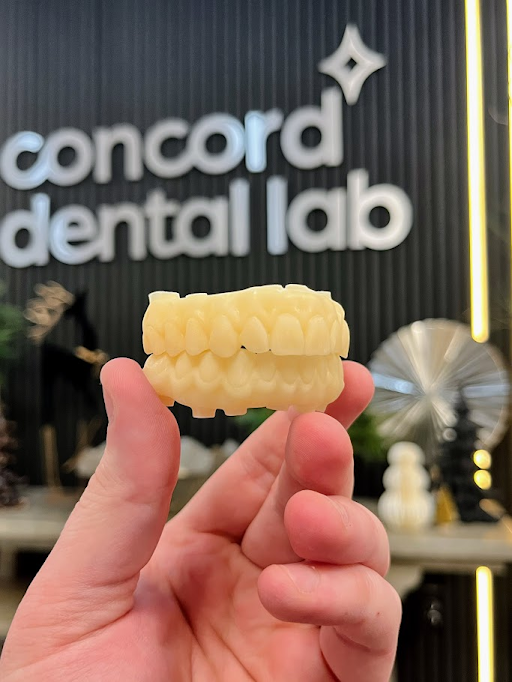
At Concord Dental Lab, we use this information to design emergence profiles that respect both biology and esthetics, ensuring every implant restoration integrates seamlessly with the tissue you have shaped.